Installing shielded stranded wire properly is crucial for ensuring optimal performance and safety in electrical systems. As a supplier of shielded stranded wire, I've seen firsthand the importance of correct installation. In this blog, I'll guide you through the process step - by - step, sharing insights and best practices.
Understanding Shielded Stranded Wire
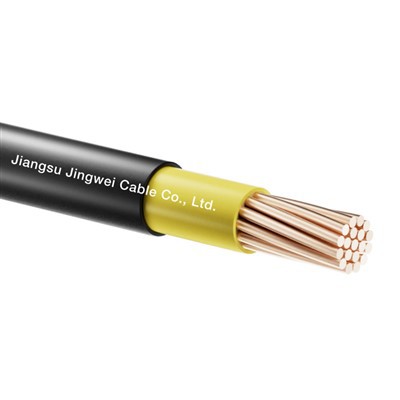
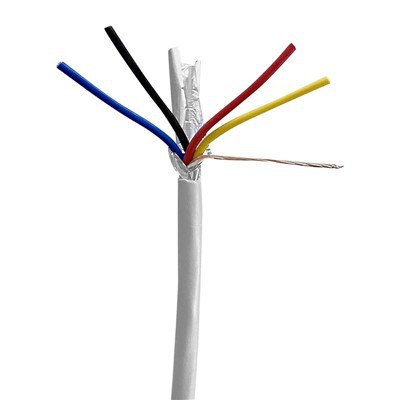
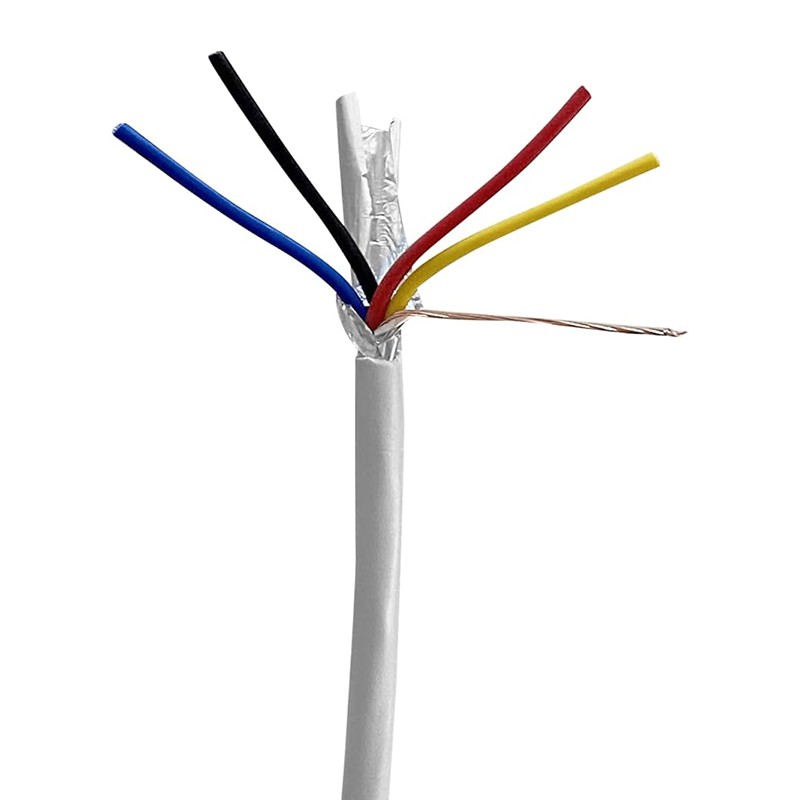
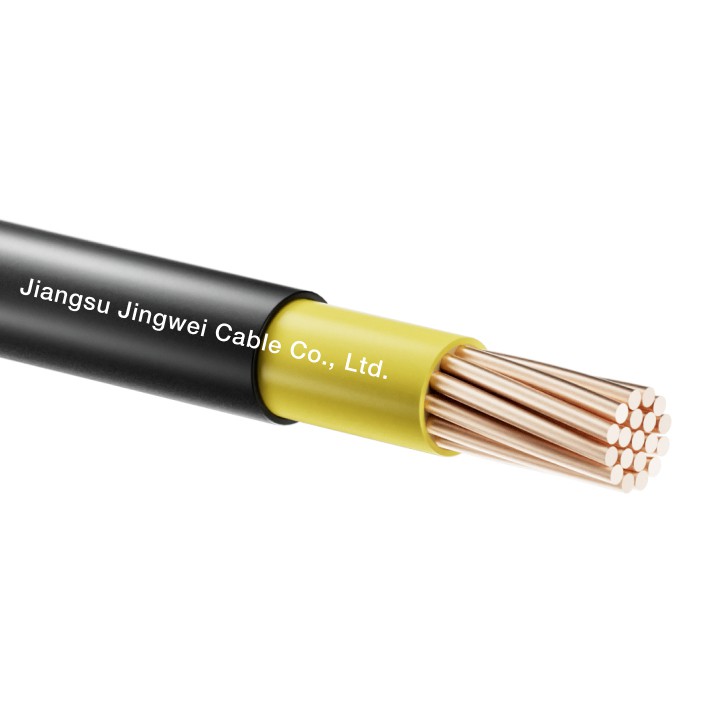
Before we dive into the installation process, it's essential to understand what shielded stranded wire is. Shielded stranded wire consists of multiple small - gauge wires twisted together to form a single conductor. The shielding, usually made of metal foil or braided wire, surrounds the conductor to protect it from electromagnetic interference (EMI) and radio - frequency interference (RFI). This makes it ideal for applications where signal integrity is critical, such as in telecommunications, audio systems, and industrial control circuits.
Tools and Materials Needed
To install shielded stranded wire properly, you'll need the following tools and materials:
- Wire Strippers: These are used to remove the insulation from the wire ends. Make sure to choose a pair that is suitable for the gauge of the wire you're working with.
- Crimping Tool: For attaching connectors to the wire. Different types of connectors require different crimping tools, so ensure you have the right one.
- Soldering Iron and Solder: If you prefer to solder the connections instead of crimping, you'll need a soldering iron and the appropriate solder.
- Electrical Tape or Heat - Shrink Tubing: These are used to insulate the connections and protect them from moisture and physical damage.
- Shielded Stranded Wire: Of course, you'll need the wire itself. Select the appropriate gauge and length based on your application. You can also explore related products like Copper Bare Conductor and Hard Drawn Bare Copper Wire for different needs.
Step - by - Step Installation Guide
Step 1: Planning
- Determine the Route: Plan the path for the wire carefully. Avoid sharp bends, areas with high heat, and places where the wire could be damaged. Make sure the route is as short as possible to minimize signal loss.
- Measure the Length: Measure the length of wire needed for the installation. Add a little extra length to account for any unexpected bends or connections.
Step 2: Preparing the Wire
- Cut the Wire: Use a sharp wire cutter to cut the wire to the desired length. Make sure the cut is clean and straight.
- Strip the Insulation: Use wire strippers to remove a small amount of insulation from the ends of the wire. The length of the stripped section will depend on the type of connector you're using.
Step 3: Connecting the Shield
- Expose the Shield: Carefully remove a small section of the outer jacket to expose the shielding. Be careful not to damage the shielding or the inner conductors.
- Terminate the Shield: There are several ways to terminate the shield. One common method is to use a shield termination connector. Crimp or solder the connector to the shield. Make sure the connection is secure and has good electrical contact.
Step 4: Connecting the Conductors
- Attach the Connectors: Depending on your application, you can either crimp or solder the connectors to the conductors. If crimping, use the appropriate crimping tool and follow the manufacturer's instructions. If soldering, heat the connector and the conductor with the soldering iron and apply the solder until it flows evenly.
- Insulate the Connections: After connecting the conductors, insulate the connections using electrical tape or heat - shrink tubing. Make sure the insulation covers the entire connection and extends a little beyond it.
Step 5: Securing the Wire
- Use Cable Clamps or Straps: Once the wire is connected, secure it along the planned route using cable clamps or straps. This will prevent the wire from moving and getting damaged.
- Avoid Over - Tightening: When using cable clamps, be careful not to over - tighten them, as this can damage the wire.
Common Mistakes to Avoid
- Incorrect Shield Termination: Improper shield termination can lead to poor EMI/RFI protection. Make sure the shield is properly connected and grounded.
- Over - Bending the Wire: Excessive bending can damage the inner conductors and the shielding. Follow the manufacturer's recommended minimum bend radius.
- Poor Insulation: Inadequate insulation can cause short circuits and other electrical problems. Make sure all connections are properly insulated.
- Using the Wrong Tools: Using the wrong tools can result in poor connections and damage to the wire. Always use the appropriate tools for the job.
Troubleshooting
If you encounter problems during or after the installation, here are some common issues and solutions:
- Signal Interference: If you're experiencing signal interference, check the shield termination. Make sure the shield is properly grounded and there are no breaks in the shielding.
- Poor Connection: If a connection is loose or has high resistance, check the crimp or solder joint. Re - crimp or re - solder the connection if necessary.
- Wire Damage: If the wire is damaged, replace the damaged section. Make sure to follow the installation steps carefully when replacing the wire.
Conclusion
Proper installation of shielded stranded wire is essential for ensuring the reliability and performance of electrical systems. By following the steps outlined in this blog and avoiding common mistakes, you can install shielded stranded wire with confidence. If you're in the market for high - quality shielded stranded wire or related products like Solid Conductor Wiring, feel free to reach out to us. We're here to help you with your electrical wiring needs and can provide you with the best products and advice.
References
- Electrical Wiring Handbook, various editions
- Manufacturer's guides for shielded stranded wire and related connectors