Hey there! As a control cable supplier, I've seen my fair share of situations where people need to terminate control cables. It might seem like a daunting task, but with the right know - how, it can be a breeze. In this blog, I'm gonna walk you through the process of terminating a control cable step by step.
Understanding the Basics
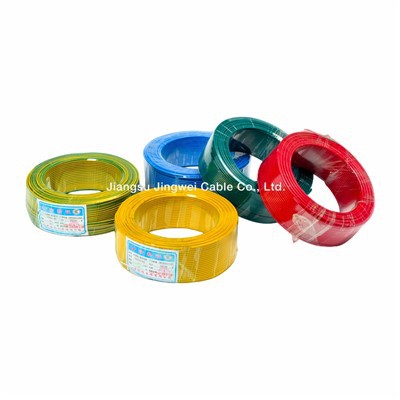
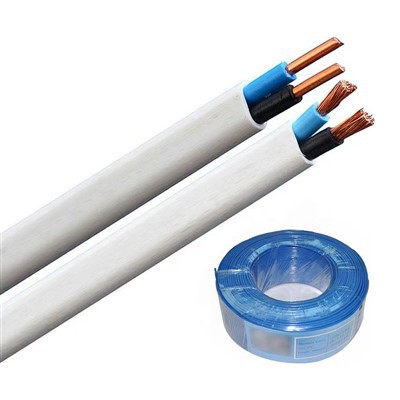
First off, let's talk about what a control cable is. Control cables are used to transmit signals and power in various electrical and electronic systems. They come in different types, like Motor Control Cable, Single Core Dc Cable, and Lighting Control Cable. Each type has its own specific use and characteristics.


Tools You'll Need
Before you start terminating a control cable, you need to gather the right tools. Here's a list of what you'll typically need:
- Wire Strippers: These are used to remove the insulation from the cable. Make sure you get the right size for the cable you're working with.
- Crimping Tool: This tool is used to attach connectors to the cable. There are different types of crimping tools for different connector sizes and types.
- Connectors: You'll need the appropriate connectors for your cable. The type of connector depends on the application and the equipment you're connecting to.
- Heat Shrink Tubing: This is used to insulate the connection and protect it from moisture and other environmental factors.
- Multimeter: A multimeter is used to test the continuity and resistance of the cable after termination.
Step - by - Step Termination Process
Step 1: Prepare the Cable
The first thing you need to do is cut the cable to the right length. Make sure you leave enough slack for any bends or connections. Then, use the wire strippers to remove about 1 - 2 inches of insulation from the end of the cable. Be careful not to nick the wires inside.
Step 2: Identify the Wires
Control cables usually have multiple wires, each with a different function. You need to identify which wire is which. This can be done by looking at the color coding or by referring to the cable's documentation.
Step 3: Attach the Connectors
Once you've identified the wires, it's time to attach the connectors. First, slide the heat shrink tubing over the cable. Then, insert the wire into the connector and use the crimping tool to secure it. Make sure the crimp is tight and the wire is firmly attached to the connector.
Step 4: Apply Heat Shrink Tubing
After attaching the connectors, slide the heat shrink tubing over the connection. Use a heat gun to shrink the tubing. Make sure the tubing covers the entire connection and provides a good seal.
Step 5: Test the Connection
Once you've terminated the cable, use a multimeter to test the continuity and resistance of the cable. This will ensure that the connection is good and the cable is working properly.
Common Mistakes to Avoid
- Over - stripping the cable: If you remove too much insulation, it can expose the wires and cause a short circuit.
- Using the wrong connectors: Make sure you use the right connectors for your cable. Using the wrong connectors can lead to poor connections and electrical problems.
- Not crimping properly: A loose crimp can cause a poor connection and lead to intermittent problems.
- Not testing the connection: Always test the connection after termination to make sure it's working properly.
Tips for a Successful Termination
- Read the instructions: Before you start terminating the cable, read the instructions that come with the connectors and the cable. This will ensure that you do it correctly.
- Practice on a spare cable: If you're new to cable termination, it's a good idea to practice on a spare cable first. This will help you get the hang of it and avoid making mistakes on the actual cable.
- Keep your workspace clean: A clean workspace will make it easier to work on the cable and reduce the risk of contamination.
When to Seek Professional Help
Sometimes, terminating a control cable can be a complex task, especially if you're dealing with a large or high - voltage cable. In these cases, it's best to seek professional help. A professional electrician or cable technician will have the experience and expertise to terminate the cable safely and correctly.
Why Choose Our Control Cables
As a control cable supplier, we offer high - quality control cables that are designed to meet the needs of various applications. Our cables are made from the best materials and are tested to ensure they meet the highest standards. Whether you need a Motor Control Cable, Single Core Dc Cable, or Lighting Control Cable, we've got you covered.
If you're interested in purchasing our control cables or have any questions about cable termination, feel free to get in touch with us. We're here to help you find the right solution for your needs.
References
- Electrical Wiring Handbook
- Cable Installation Guide
So, there you have it! That's how you terminate a control cable. I hope this blog has been helpful. If you have any more questions, don't hesitate to reach out. Looking forward to working with you on your cable needs!